

Mini S’mores Cheesecakes
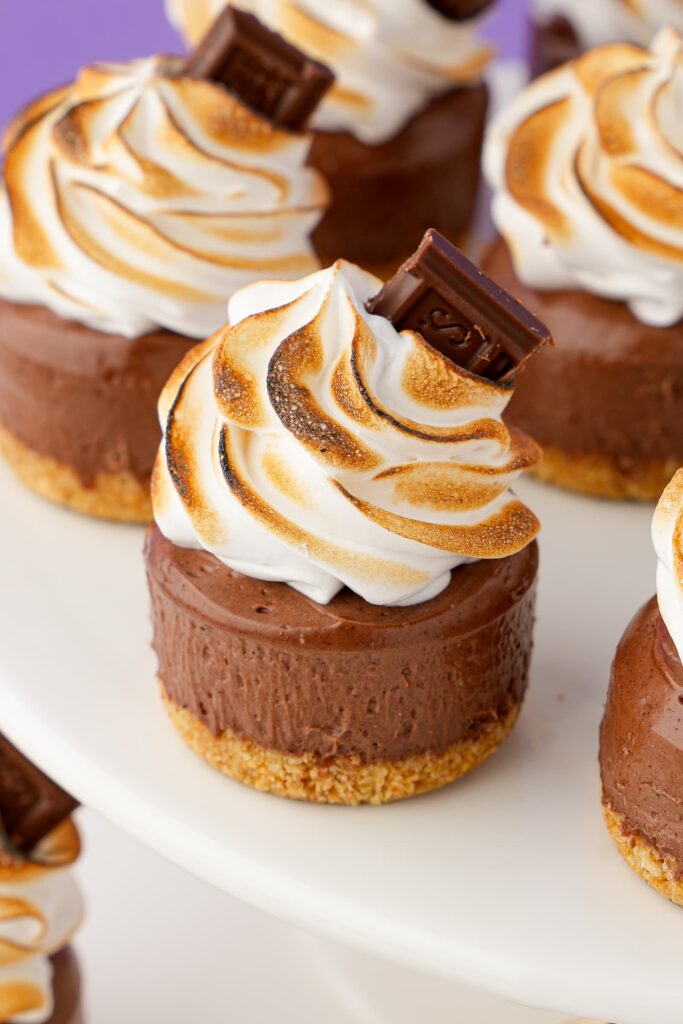
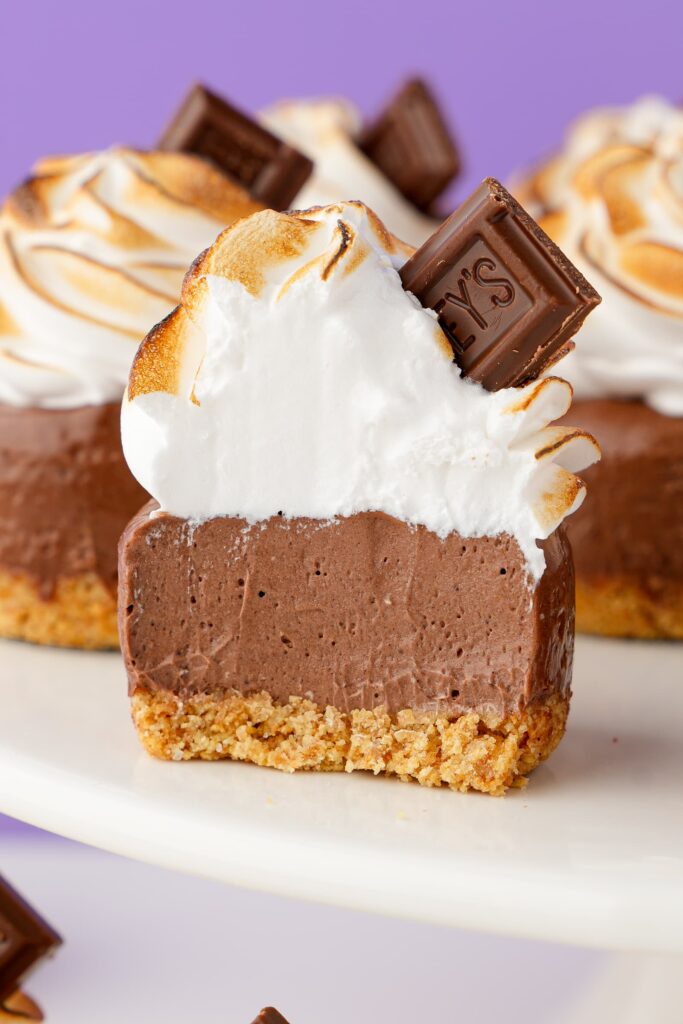
These Mini S’mores Cheesecakes have all the classic flavors of everyone’s favorite campfire treat in an easy, no-bake dessert. With a buttery graham cracker crust, rich chocolate cheesecake filling, and a cloud of homemade toasted marshmallow fluff, they’re the perfect make-ahead treat when you’re craving s’mores without the campfire. It’s everything you loved about s’mores as a kid, reimagined as an irresistible no-bake cheesecake.
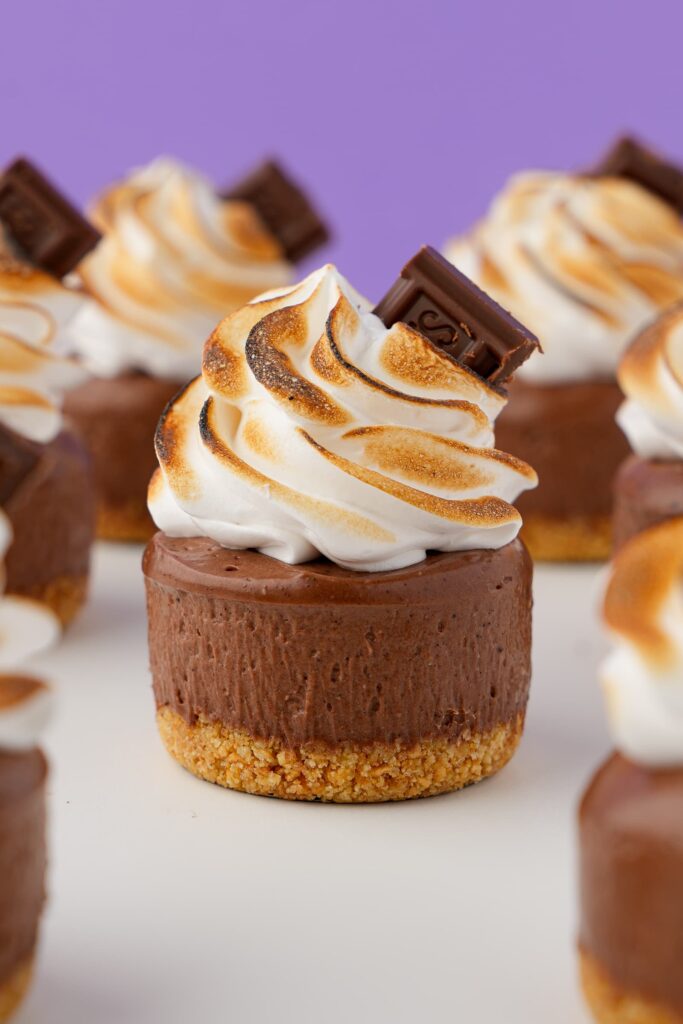
Why You Will Love This Recipe
- All the classic s’mores flavors: A buttery graham cracker crust, rich chocolate cheesecake filling, and fluffy homemade toasted marshmallow fluff for the ultimate nostalgic treat.
- No oven required: These cheesecakes are completely no bake, making them an easy dessert for warm days or whenever you don’t feel like turning on the oven.
- Perfect for making ahead: Since they need time to chill, they’re a great dessert to prepare in advance for parties, barbecues, or summer gatherings.
- Individually portioned: Mini cheesecakes are easy to serve, transport, and make sharing (or not sharing) effortless. Go ahead and grab a second—no one’s judging.
- Easy to make with impressive results: With simple ingredients and steps, these cheesecakes come together with minimal effort and maximum flavor.
Do you need s’more easy and delicious dessert ideas? Check out my S’mores Cookies, No Bake S’mores Bars, S’mores Cupcakes, and S’mores Rice Krispie Treats.
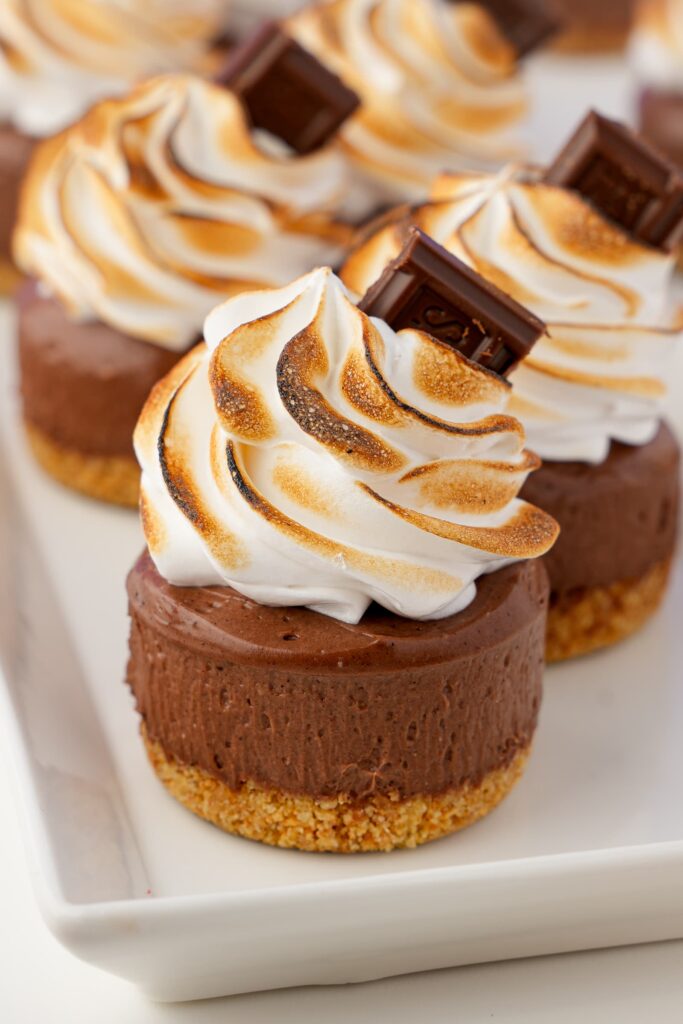
Recipe Ingredients
Graham Cracker Crust
- Graham cracker crumbs
- Granulated sugar
- Salted butter – Melted.
Chocolate Cheesecake Filling
- Cream cheese – Room temperature.
- Powdered sugar
- Dutch-process cocoa powder – Substitute with natural cocoa powder for a lighter chocolate flavor and color.
- Vanilla extract
- Salt
- Heavy cream
Homemade Marshmallow Fluff
- Light corn syrup
- Granulated sugar
- Water
- Egg whites
- Cream of tartar
- Vanilla extract
Additional Ingredients
- Hershey’s chocolate bar – Cut into small pieces.
How to Make Mini S’mores Cheesecakes
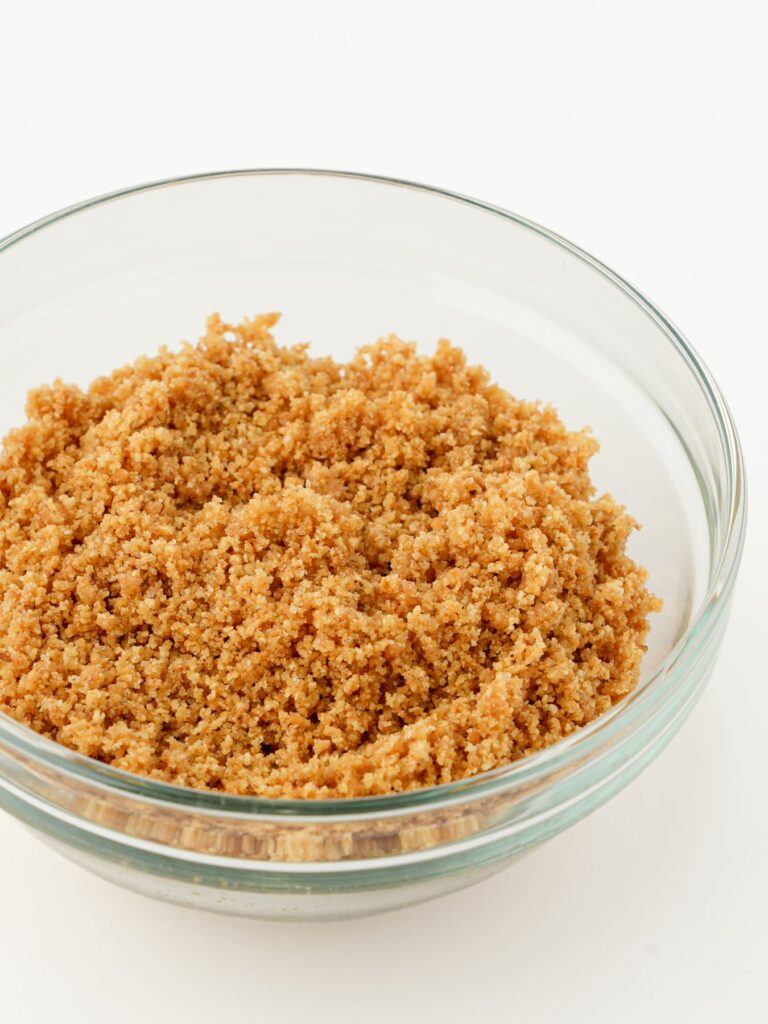
Mix together the graham cracker crumbs, granulated sugar, and melted salted butter until well combined.
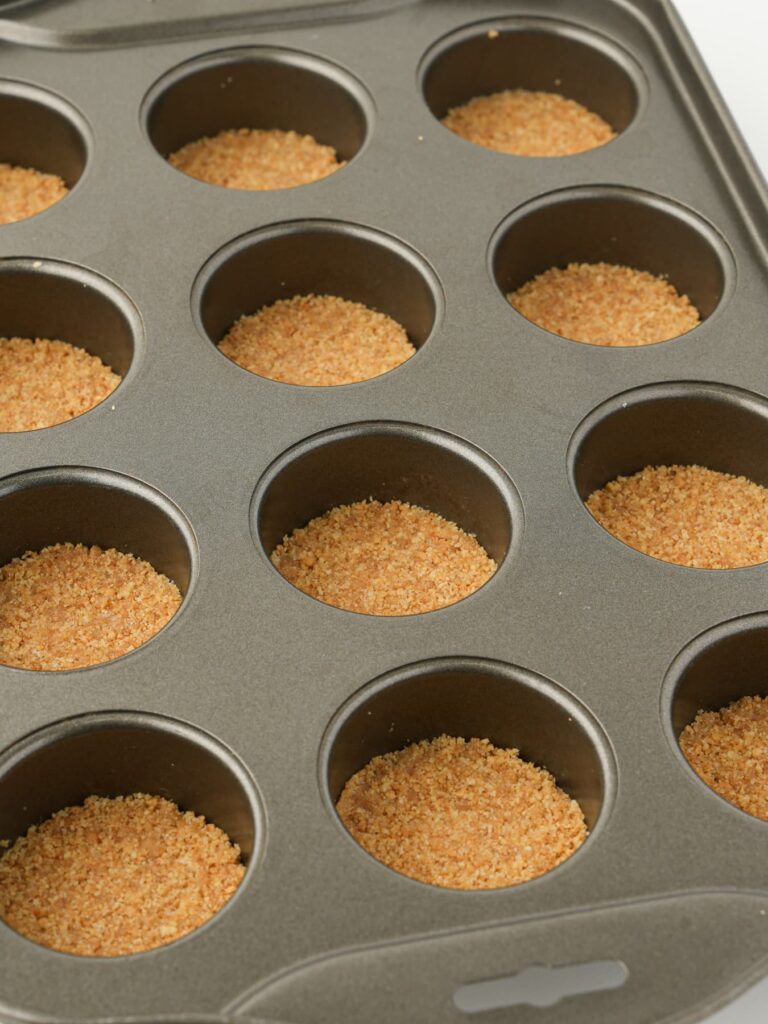
Portion the graham cracker crumb mixture into the mini cheesecake pans and press into an even layer to form the crust. Chill for 15 minutes.
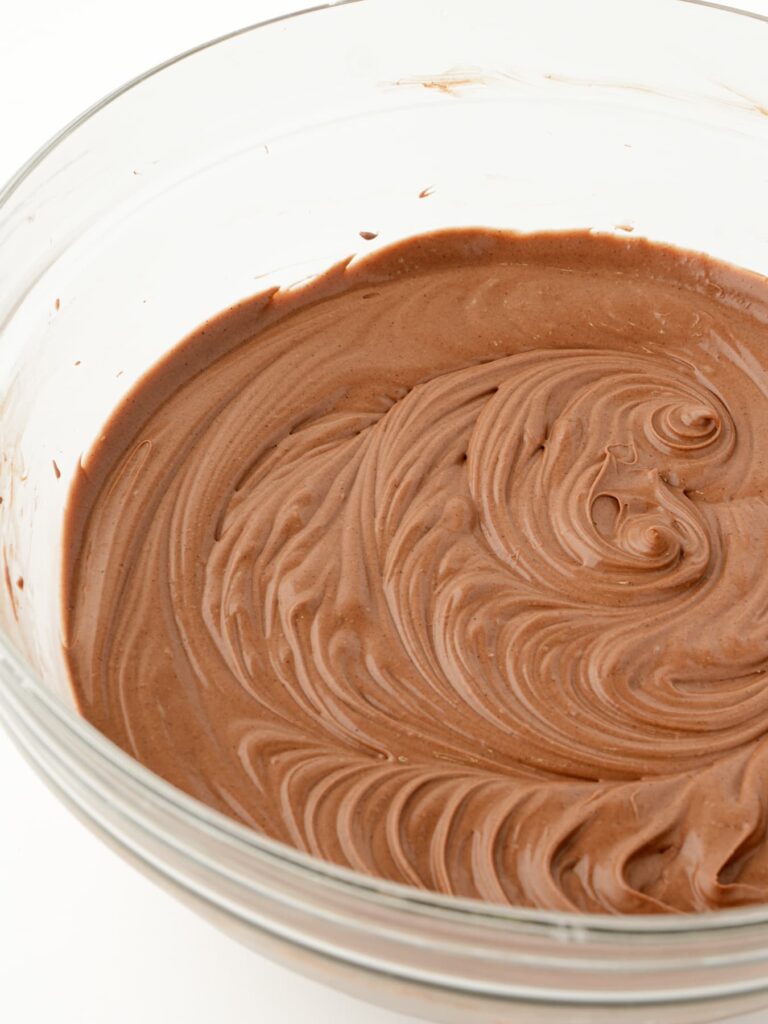
Cream together the cream cheese, powdered sugar, cocoa powder, vanilla, and salt until smooth. Slowly drizzle in the heavy cream and mix until light and creamy.
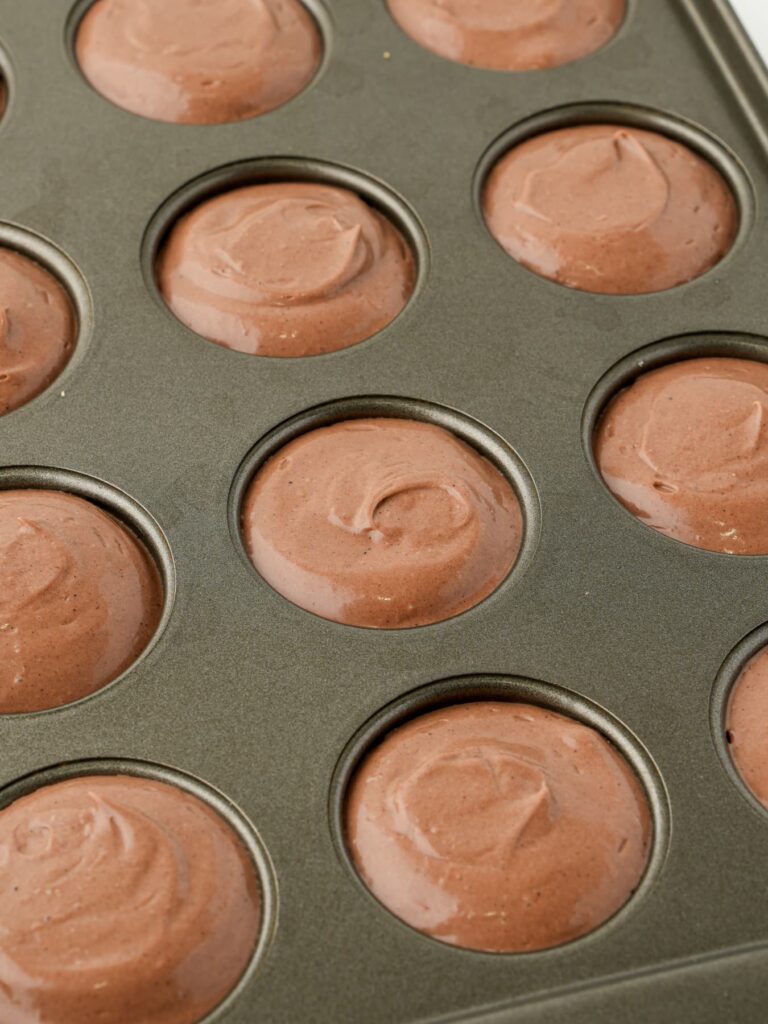
Pipe the chocolate cheesecake filling over the graham cracker crusts, filling each cheesecake pan to the top. Smooth the tops with an offset spatula. Chill for 12 hours.
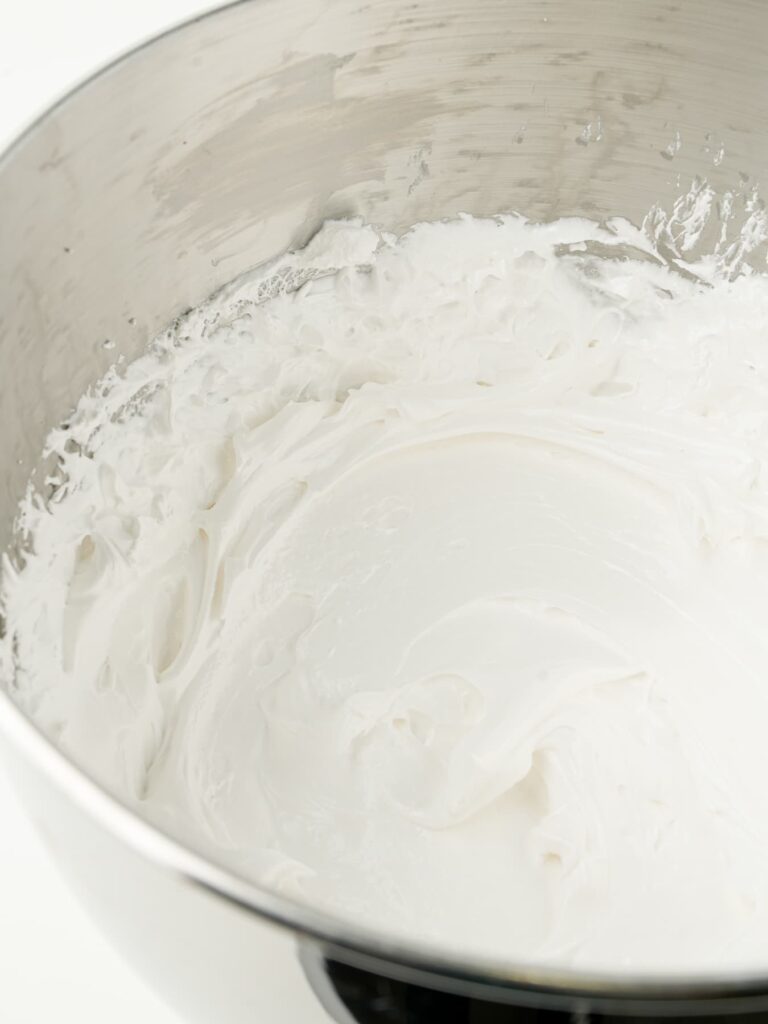
Make the homemade marshmallow fluff. Remove the chilled mini cheesecakes from the cheesecake pan.
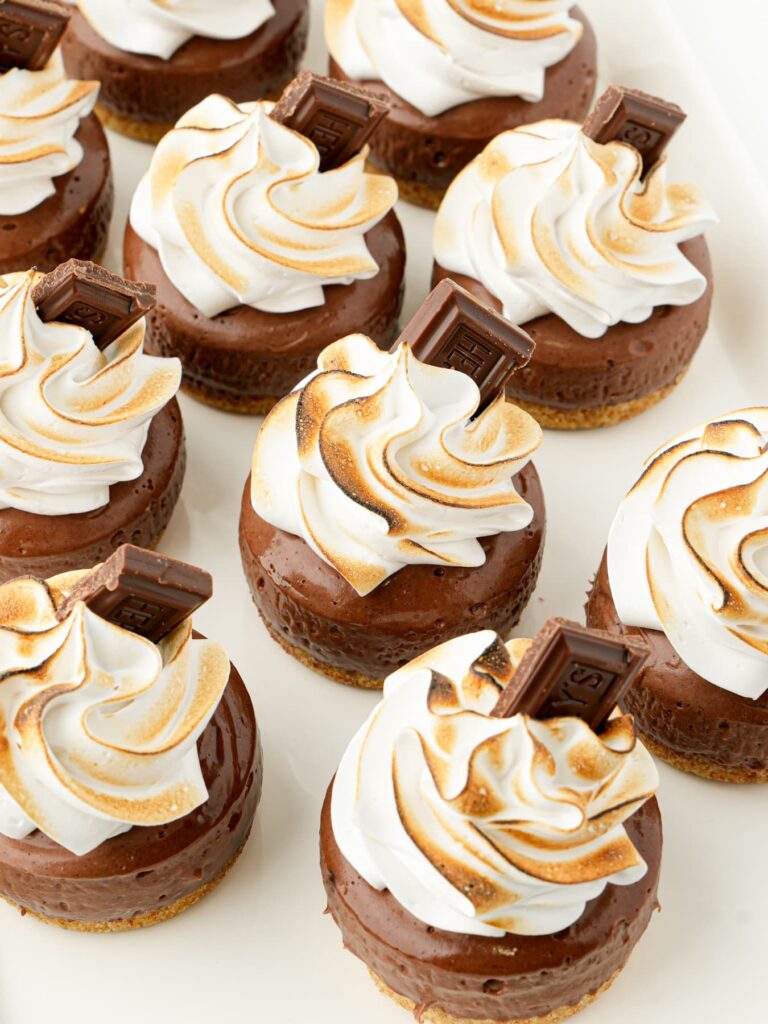
Pipe swirls of marshmallow fluff onto the cheesecakes, then carefully toast with a kitchen torch until golden brown. Garnish with pieces of chocolate bar.
Recipe Tips for Success
- Use a small cookie scoop to portion the graham cracker mixture into the wells of the cheesecake pan. Then, firmly press the crumbs into each well using a muddler, the bottom of a shot glass, an espresso tamper, or another small flat surface.
- Use room temperature cream cheese. Softened cream cheese blends much more smoothly and helps prevent lumps in the cheesecake filling.
- Don’t skip the chill time. Chill the cheesecakes for 12 hours so the filling has enough time to firm up before removing the cheesecakes from the pan.
- Use a toothpick for easy cheesecake removal. Once you’ve pushed up on the removable bottom of the mini cheesecake pan, insert a toothpick into the center of the cheesecake to help gently lift it out. The tiny hole will be completely covered by the marshmallow fluff, so no one will ever know!
- Keep the kitchen torch moving. For an evenly toasted marshmallow topping, hold the kitchen torch a few inches away from the fluff and keep the flame moving in small circles. This creates a beautifully golden finish without burning any one spot.
- Serve the cheesecakes in cupcake liners. Before serving, carefully slide a knife between the cheesecake and the removable bottom disc to release it. Place each cheesecake in a cupcake liner for an easy-to-serve, bakery-style presentation that’s perfect for parties and gatherings.
Frequently Asked Questions
If you don’t have a mini cheesecake pan, you can easily make these cheesecakes in a standard cupcake pan lined with cupcake liners. The cheesecakes will be slightly larger, so the recipe will yield fewer servings.
Yes! You can easily turn this recipe into one large no bake cheesecake by making it in an 8×8-inch baking pan. The graham cracker crust will cover just the bottom of the pan, and the rest of the process remains virtually the same. Simply add the chocolate cheesecake filling, chill until set, then finish with the homemade toasted marshmallow fluff before serving.
To remove the mini cheesecakes from the pan, gently push up on the removable bottom to release each cheesecake. I like to insert a toothpick into the center of the cheesecake and use it to help lift it out of the pan without damaging the crust or sides. Don’t worry about the tiny hole left behind; it will be completely covered once you pipe on the marshmallow fluff.
While you can use store-bought marshmallow fluff, I highly recommend making the homemade version if possible. Store-bought fluff has a much softer consistency, so it tends to lose its shape over time, making it difficult to pipe into a tall, bakery-style swirl. If you’re in a pinch, you can certainly dollop or pipe a small amount of store-bought fluff or finish each cheesecake with a toasted marshmallow for a simple (and equally delicious) alternative.
Did you make this recipe? I’d love to hear what you thought! Leave a comment and a ⭐⭐⭐⭐⭐ rating below. Your feedback helps other bakers and helps me continue creating recipes you’ll love.
 click the stars to rate!
Mini S’mores Cheesecakes
Equipment
- Mini cheesecake pans (2 pans)
Ingredients
Graham Cracker Crust
- 1 ½ cups (126 g) graham cracker crumbs
- 1 tbsp (1 tbsp) granulated sugar
- 6 tbsp (84 g) salted butter (melted)
Chocolate Cheesecake Filling
- 16 oz (454 g) cream cheese (2-8oz bricks, room temperature)
- 2 cups (240 g) powdered sugar
- ⅓ cup (30 g) dutch-process cocoa powder
- 2 tsp (2 tsp) vanilla extract
- ⅛ tsp (⅛ tsp) salt
- 1 cup (240 ml) heavy cream
Homemade Marshmallow Fluff
- ½ cup (170 g) light corn syrup
- ⅓ cup (70 g) granulated sugar
- 2 tbsp (2 tbsp) water
- 2 (2) large egg whites
- ⅛ tsp (⅛ tsp) cream of tartar
- 2 tsp (2 tsp) vanilla extract
Additional Ingredients
- 1 (1) Hershey's chocolate bar (cut into 24 pieces)
Instructions
Graham Cracker Crust
- In a medium mixing bowl, stir together the graham cracker crumbs, granulated sugar, and melted salted butter until the crumbs are evenly moistened and resemble wet sand.
- Add the removable bottoms to the mini cheesecake pans. Using a small cookie scoop (1 tablespoon), divide the graham cracker crumbs into the cups of the mini cheesecake pans. Firmly press the crumbs into an even layer using a small flat surface like a muddler or shot glass. Transfer the pans to the refrigerator to chill while you prepare the chocolate cheesecake filling.
Chocolate Cheesecake Filling
- In the bowl of a stand mixer fitted with the paddle attachment, or in a large mixing bowl using an electric hand mixer, cream the softened cream cheese, powdered sugar, dutch-process cocoa powder, vanilla extract, and salt until smooth and creamy.
- With the mixer on low speed, slowly drizzle in the heavy cream until fully incorporated, then scrape down the sides and bottom of the bowl. Increase the speed to medium and whip the cheesecake filling for 1–2 minutes, or until the filling is light, fluffy, and smooth.
- Transfer the chocolate cheesecake filling to a large piping bag and snip off the tip to create a ½-inch opening. Pipe the filling evenly into each well of the mini cheesecake pan, filling each one to the top. Use a small offset spatula to smooth the tops into an even layer.
- Carefully cover the pan with plastic wrap or transfer the cheesecakes to an airtight container, then refrigerate for at least 12 hours, or until fully set.
Homemade Marshmallow Fluff
- Once the cheesecakes have fully chilled and set, prepare the homemade marshmallow fluff. In a small saucepan, stir together the light corn syrup, granulated sugar, and water until combined. Place the saucepan over medium heat and cook until the mixture reaches 240°F (116°C) on a candy thermometer, about 6–8 minutes. Do not stir the syrup once it begins to cook, as this can cause sugar crystals to form.
- When the syrup reaches about 230°F (110°C), add the egg whites and cream of tartar to the bowl of a stand mixer fitted with the whisk attachment. Whip on medium speed until foamy, then increase the speed to medium-high and whip until soft peaks form.
- Once the syrup reaches 240°F (116°C), immediately remove it from the heat. With the mixer running on medium speed, slowly drizzle the hot syrup into the whipped egg whites in a thin, steady stream, pouring between the side of the bowl and the whisk to avoid splattering.
- Add the vanilla extract and continue whipping on medium speed for 3–4 minutes, or until the marshmallow fluff is thick, glossy, and fluffy.
Assembling the Cheesecakes
- Transfer the homemade marshmallow fluff to a piping bag fitted with a Wilton 1M piping tip or your favorite piping tip. Pipe a generous swirl of marshmallow fluff onto each chilled cheesecake, then use a kitchen torch to lightly toast the tops until golden brown. Finish by garnishing each cheesecake with a piece of chocolate bar.
Notes
- Refrigerator: Store the cheesecakes in an airtight container in the refrigerator for up to 4 days. For the best texture and flavor, serve them chilled.
- Freezer: Freeze the cheesecakes (preferably without the marshmallow topping) in an airtight container in the freezer for up to 2 months. Thaw overnight in the refrigerator before serving.
Nutrition
Made This Recipe?
Please leave a comment with a star rating to let me know how you enjoyed the recipe!
About Courtney
Baker | 80s Lover | Cookbook Author
Courtney is a self-taught home baker and cookbook author of “Girls Just Wanna Bake Cupcakes”. She loves to create new and unique recipes while simultaneously listening to 80s music.


Never Miss A Sweet Recipe!
Subscribe get the latest recipes, baking tips and more sent straight to your inbox!
Did you make this recipe or want to see more? Make sure to leave your review below and tag me on Instagram @CakeMeHomeTonight so I can see your creations!