

Peanut Butter Cup Rice Krispie Treats
If you’re a fan of peanut butter and chocolate (and honestly, who isn’t?), you’re going to fall head over heels for these peanut butter cup rice krispie treats. They’re the perfect mashup of gooey peanut butter marshmallow cereal bars packed inside and out with peanut butter cups. These treats are quick to make, no-bake, and totally crave-worthy.

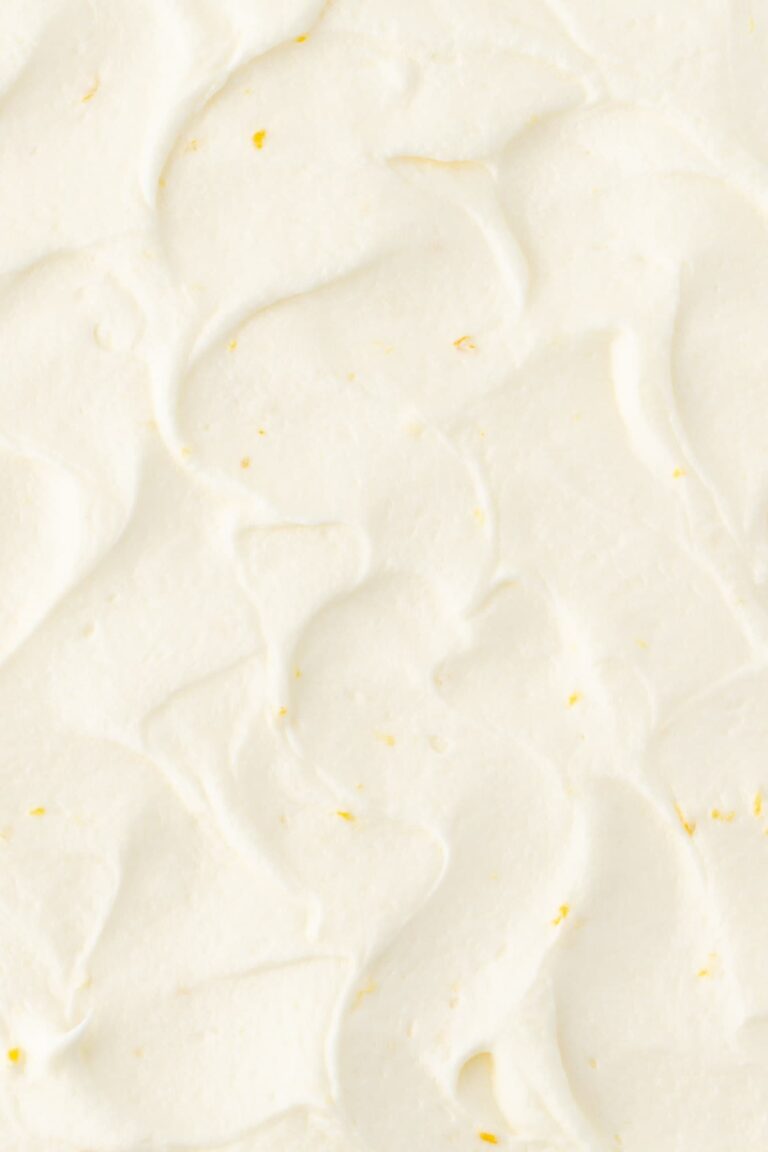
Crank up the Def Leppard, because these peanut butter cup rice krispie treats are about to rock your kitchen. With rich and creamy peanut butter, melted marshmallows, and a heavy dose of chopped peanut butter cups, they’re sticky, sweet, and ready to party like it’s 1985.
They’re the dessert equivalent of a power ballad: bold, dramatic, and impossible not to love. Whether you’re baking for a sleepover, a bake sale, a movie night, or just because you are feeling nostalgic and craving chocolate peanut butter—these treats are totally where it’s at. So pour some peanut butter on me and let’s whip up something truly decadent and delicious!
If you love a good snap, crackle and pop, check out my classic rice krispie treats, Oreo rice krispie treats and s’mores rice krispie treats.

Ingredients for Peanut Butter Cup Rice Krispie Treats
- Unsalted butter
- Mini marshmallows
- Peanut butter
- Vanilla extract
- Salt
- Rice Krispies cereal
- Peanut butter cups

How to Make Peanut Butter Cup Rice Krispie Treats
- Prep: Prepare a 9×13 baking pan with nonstick cooking spray and parchment paper.
- Melt: Melt the butter and stir in the mini marshmallows until melted and smooth.
- Add: Add in the peanut butter, vanilla, and salt. Stir in the crispy rice cereal and additional marshmallows.
- Spread: Pour half of the mixture into the prepared pan and spread into an even layer. Sprinkle with mini peanut butter cups. Add the remaining half of the rice krispie treat mixture and gently press into an even layer. Press in additional peanut butter cups.
- Set: Allow the rice krispie treats to set up for 1 hour and then cut into squares.


Courtney’s Expert Baking Tips
- Line the baking pan with parchment paper extending up the sides of the pan for easy removal.
- Gently press the rice krispie treat mixture into the pan. Do not press down too firmly or the rice krispie treats will have a hard texture.
- The easiest way to spread the rice krispie treat mixture is to use your hands. Wet your hands with a little bit of water to prevent the mixture from sticking.
- Freeze the peanut butter cups for 15 minutes to prevent the chocolate from melting too much when adding them to the rice krispie treat bars.
- Use a serrated knife and a sawing motion to cut the treats into perfect squares.

Frequently Asked Questions
Yes, for this recipe, natural peanut butter works just fine. I prefer to use regular creamy peanut butter for the nostalgic factor, but a natural peanut butter will also work here!
Freeze the mini peanut butter cups for 15 minutes to prevent the chocolate from melting too much when adding them to the center of the rice krispie treat bars and before pressing them into the top of the bars.
The easiest way to prevent the rice krispie treat mixture from sticking to your hands is to moisten your hands with water before pressing the mixture into the pan.

If you try out these peanut butter cup rice krispie treats, please take a moment to leave a comment with a star rating below to let me know how you enjoyed this recipe!
I love seeing your sweet creations, so make sure to tag @cakemehometonight on Instagram and follow me on Pinterest for more sweet inspiration!

 click the stars to rate!
Peanut Butter Cup Rice Krispie Treats
Equipment
Ingredients
- ½ cup (114 g) unsalted butter
- 20 oz (567 g) mini marshmallows (2 – 10 oz bags)
- 1 cup (258 g) creamy peanut butter
- 2 tsp (2 tsp) vanilla extract
- ½ tsp (0.5 tsp) salt
- 7 cups (196 g) Rice Krispies cereal
- 2 cups (100 g) mini marshmallows
- 7.6 oz (215 g) Reese's unwrapped mini peanut butter cups
- 24 (24) Reese's mini peanut butter cups (cut in half or quarters)
Instructions
- Prepare a 9×13 baking pan with nonstick cooking spray and parchment paper. Extend the parchment paper up the sides of the pan to easily remove the rice krispie treats from the pan.
- In a large saucepan on the stovetop over medium-low heat, melt the unsalted butter. Add in 20 ounces of mini marshmallows and stir until the marshmallow mixture is melted and smooth. Remove the saucepan from the heat.
- Stir in the peanut butter, vanilla extract, and salt. Then, fold in the Rice Krispies cereal and additional 2 cups of mini marshmallows until the cereal is well coated in the melted marshmallow mixture.
- Pour half of the rice krispie treat mixture into the prepared baking pan and spread into an even layer. Sprinkle the Reese's unwrapped mini peanut butter cups evenly over the rice krispie treat layer. Spread the remaining rice krispie treat mixture over the peanut butter cups. Moisten your hands with water, and gently press the mixture into the pan creating an even layer. Then, press additional Reese's mini peanut butter cups into the top of the bars.
- Allow the rice krispie treats to set up in the pan for 1 hour before removing and cutting into squares.
Notes
- Room temperature: Store the rice krispie treats in an airtight container or resealable storage bag at room temperature for 2 to 3 days.
- Refrigerator/Freezer: I do not recommend storing rice krispie treats in the refrigerator or freezer as it can impact the texture.
Nutrition
Made This Recipe?
Please leave a comment with a star rating to let me know how you enjoyed the recipe!

About Courtney
Baker | 80s Lover | Cookbook Author
Courtney is a self-taught home baker and cookbook author of “Girls Just Wanna Bake Cupcakes”. She loves to create new and unique recipes while simultaneously listening to 80s music.


Never Miss A Sweet Recipe!
Subscribe get the latest recipes, baking tips and more sent straight to your inbox!
Did you make this recipe or want to see more? Make sure to leave your review below and tag me on Instagram @CakeMeHomeTonight so I can see your creations!