

Little Debbie Christmas Tree Cookies
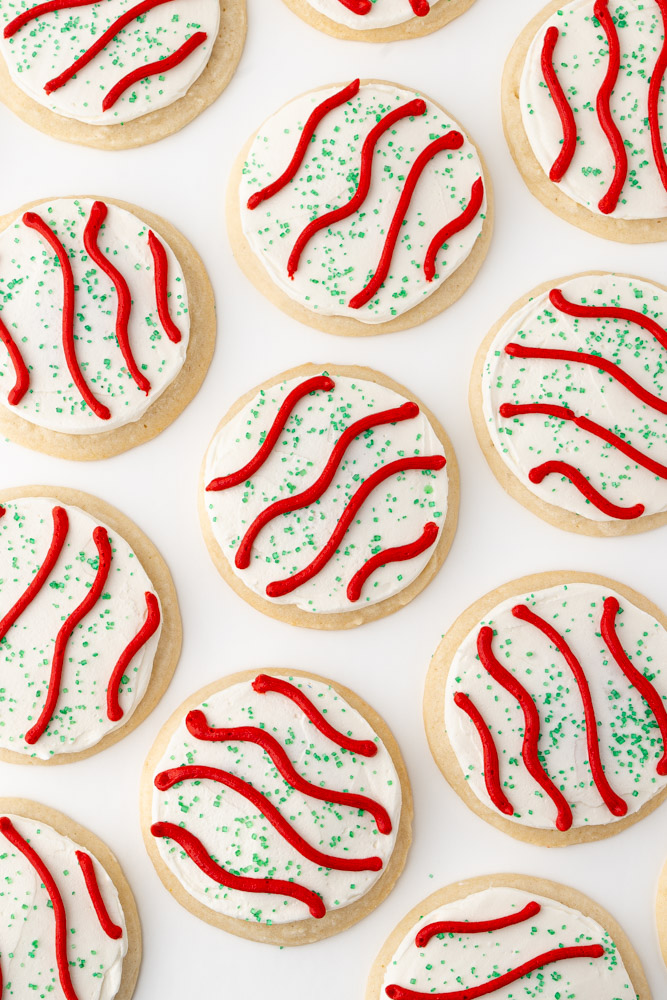
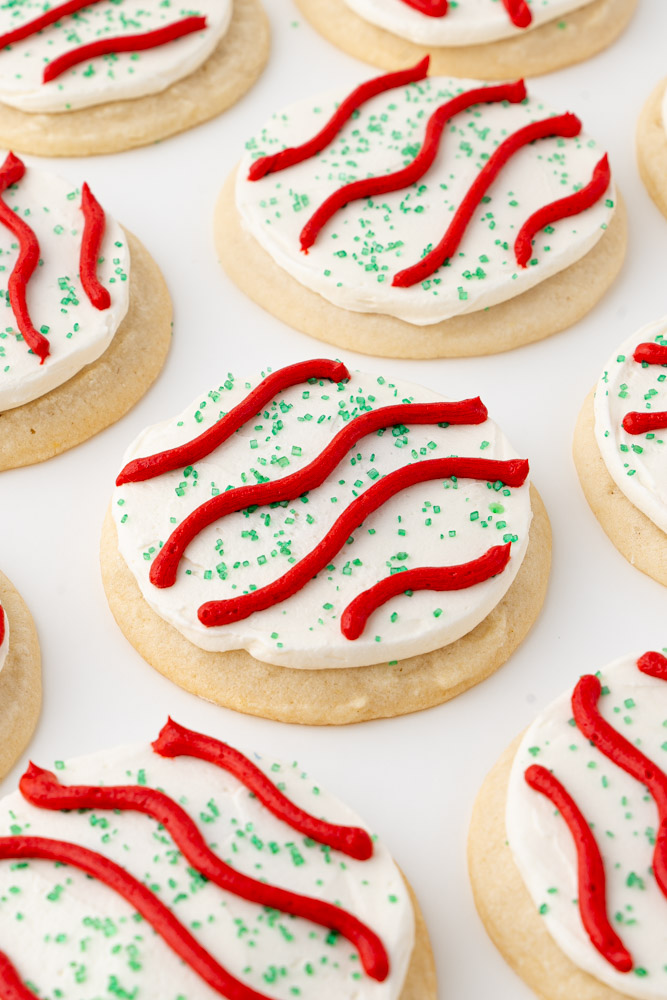
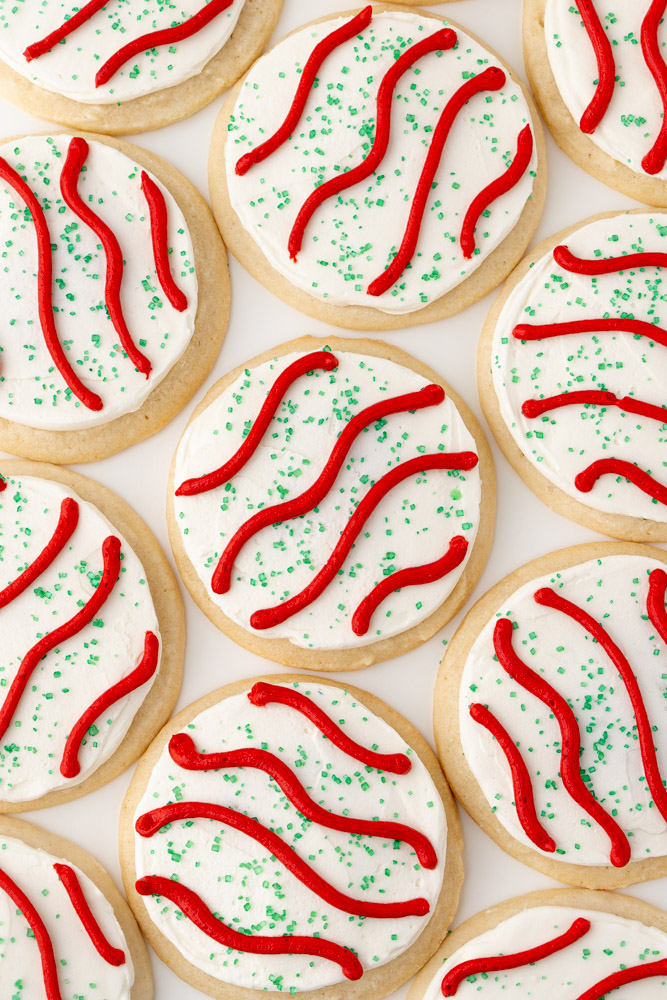
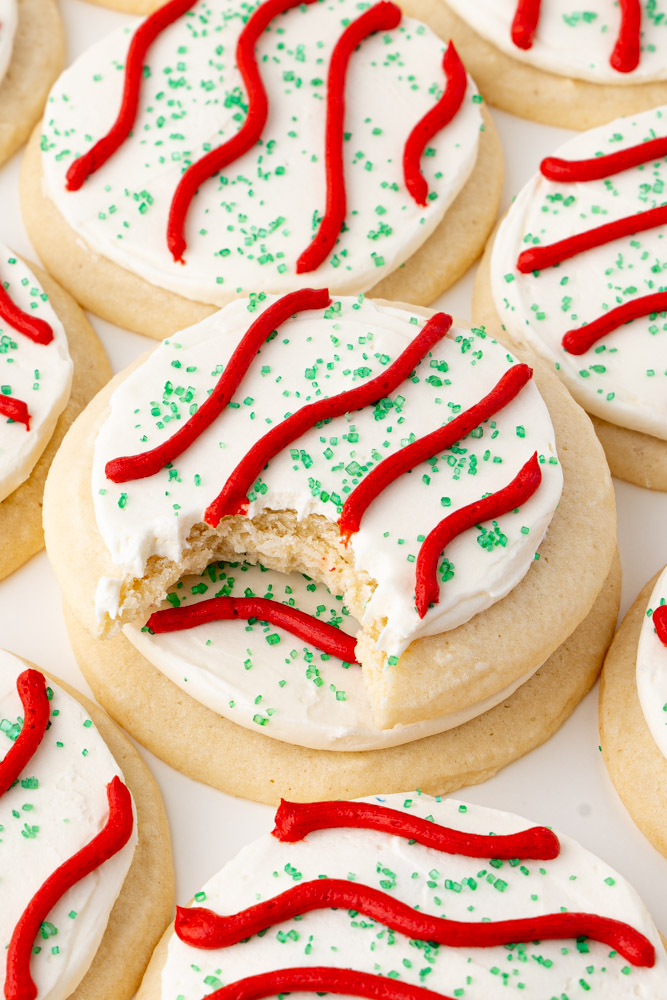
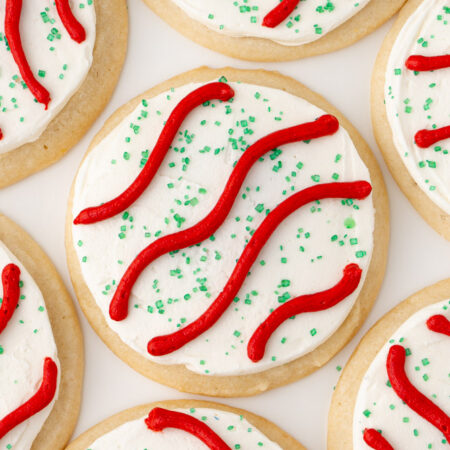
These Little Debbie Christmas tree cookies capture everything you loved about the iconic holiday snack cake, but in soft and tender homemade vanilla cookies. Topped with vanilla buttercream and decorated with those classic red stripes and green sprinkles, they’re pure Christmas nostalgia.

These Little Debbie Christmas tree cookies are the ultimate mash-up of holiday cheer and nostalgia, bringing all the cozy “home for Christmas” feels in every bite.
Made with soft vanilla cookies, creamy vanilla buttercream frosting, and the iconic green sugar sprinkles and red stripes, these cookies will help you have the hap-hap-happiest Christmas!
They’re sweet, festive, easy to make, and guaranteed to impress your family more than a Jelly of the Month Club subscription.
If you love nostalgia, holiday sparkle, and dessert that brings all the feels, these cookies are your new seasonal obsession.
If you love cozy Christmas cookie nostalgia, check out my Christmas frosted funfetti cookies, holiday M&M cookies, and peanut butter blossoms.
How to Make Little Debbie Christmas Tree Cookies
Step 1: Prep and preheat. Preheat the oven and line baking pans with silicone mats or parchment paper.
Step 2: Make the cookie dough. Cream the butter, sugars, and oil. Add in the egg and vanilla extract. Add in the cake flour, cornstarch, baking powder, and salt and mix until the cookie dough comes together.
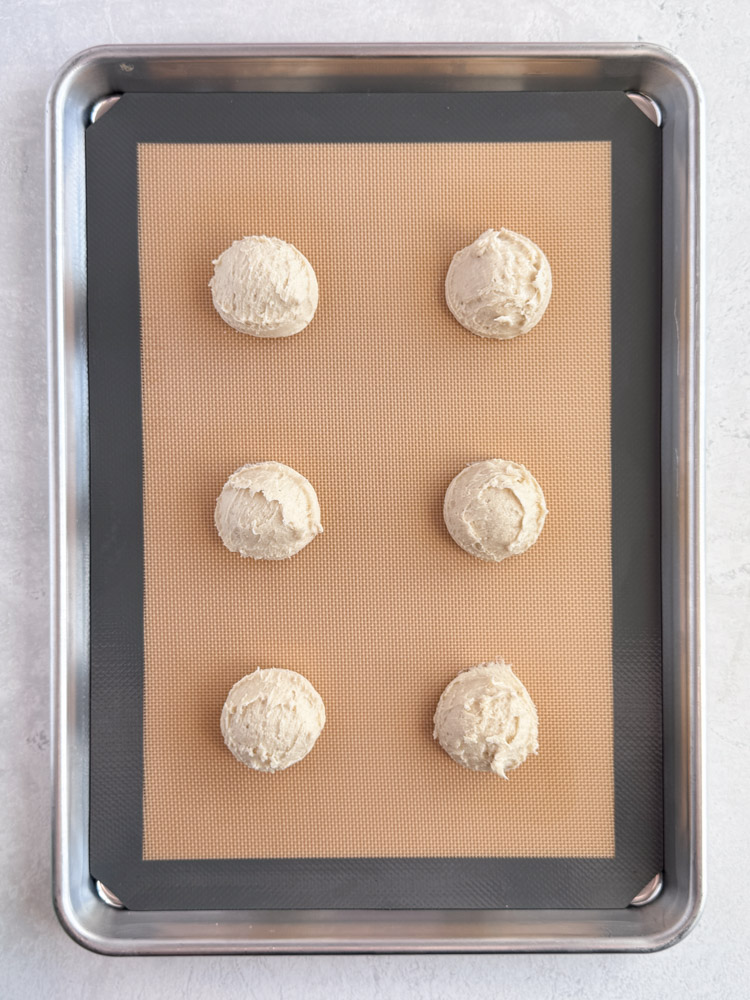
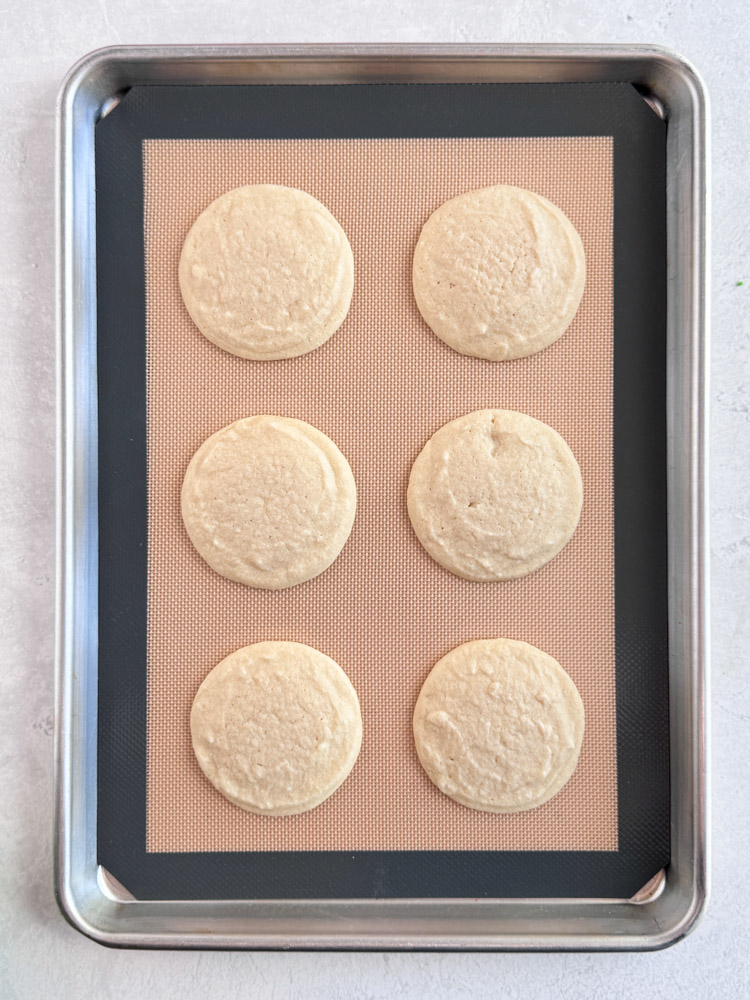
Step 3: Bake the cookies. Portion out the cookie dough using a large cookie scoop and place on the prepared cookie sheets. Bake the cookies for about 12 minutes and then transfer to a wire rack to cool.
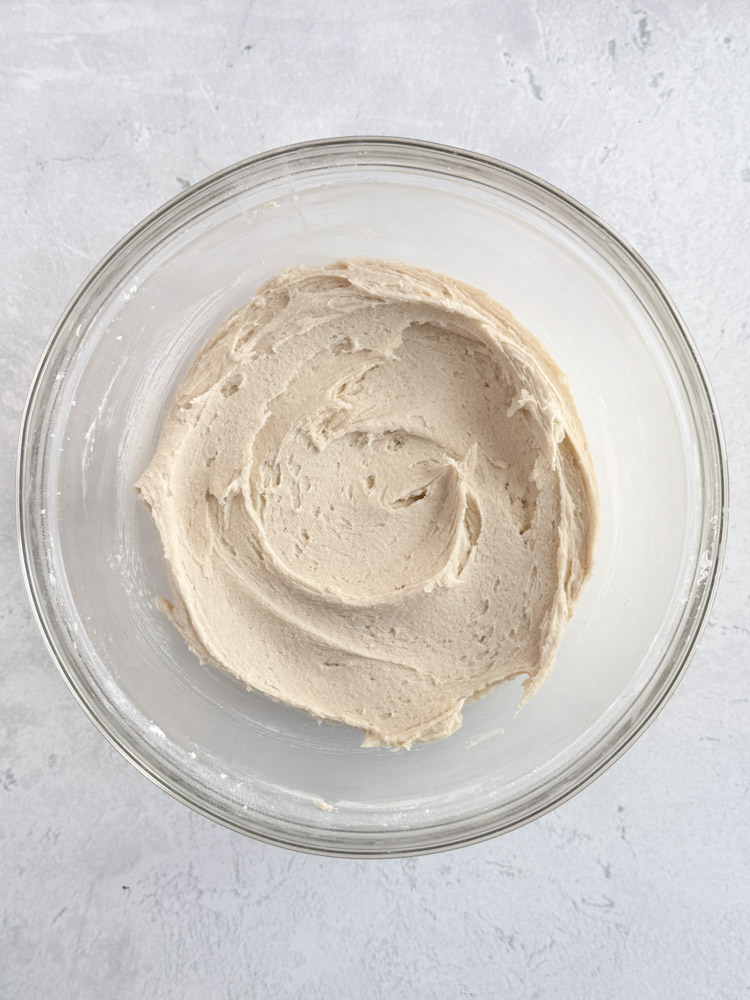
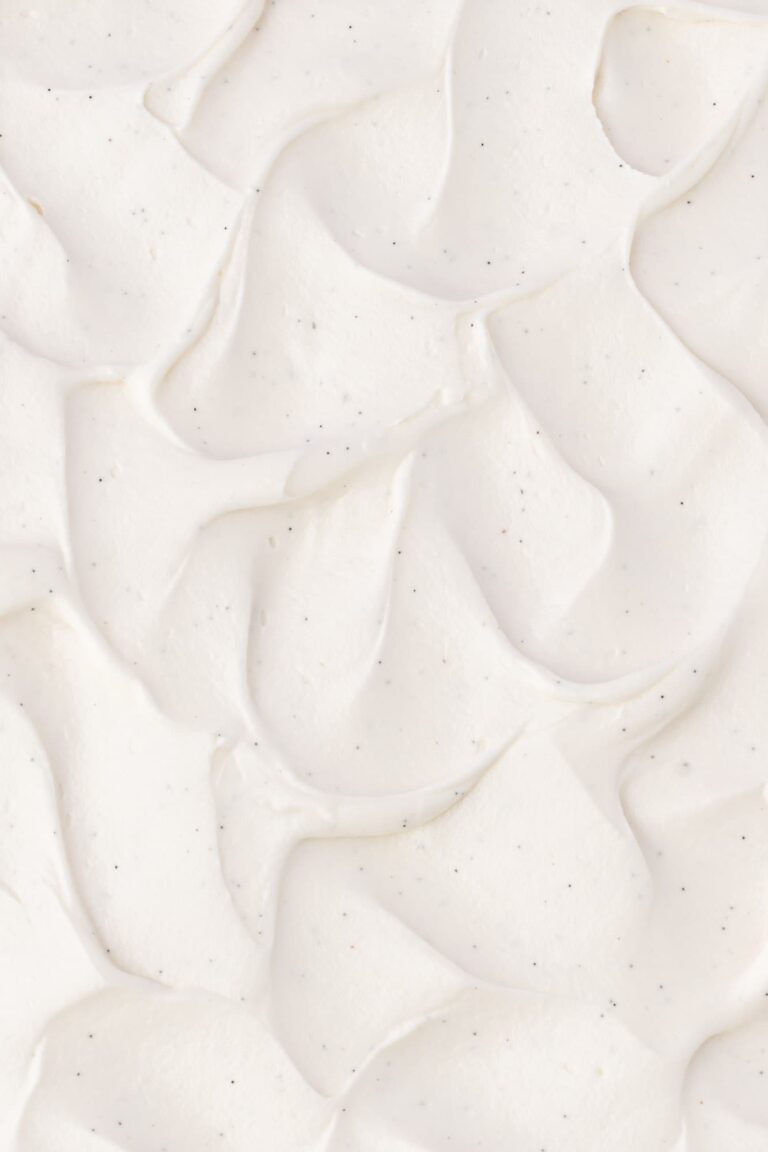
Step 4: Make the frosting. Whip the butter until light and creamy. Add in the powdered sugar, heavy cream, vanilla, and salt, and mix until the frosting is smooth and creamy. Tint ⅓ cup of the frosting with red gel food coloring.
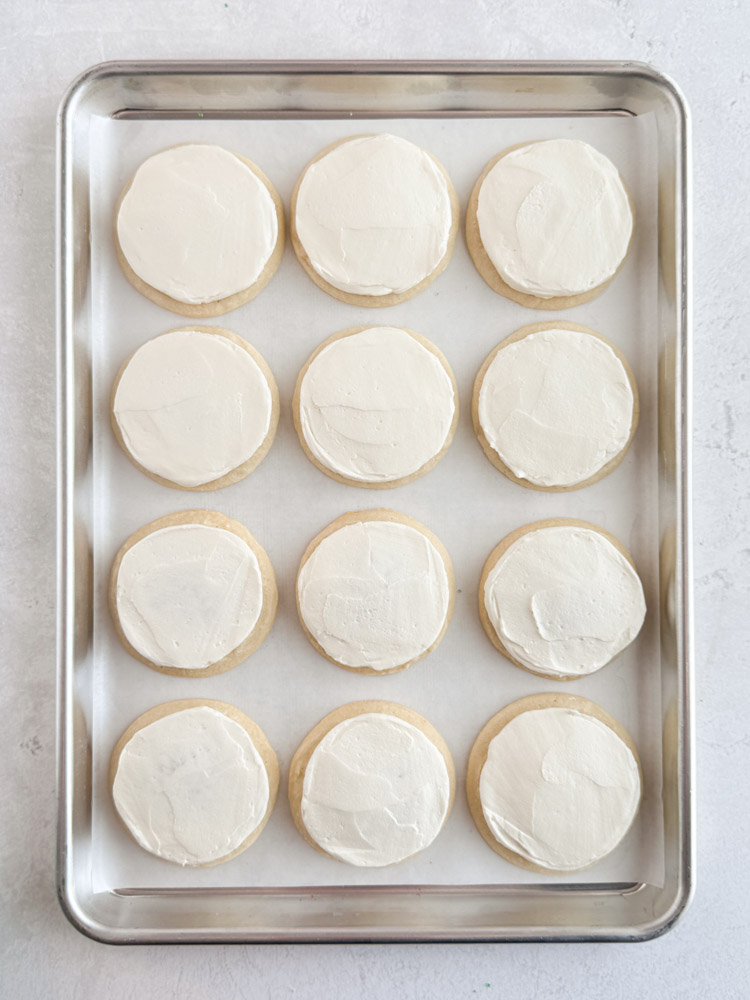
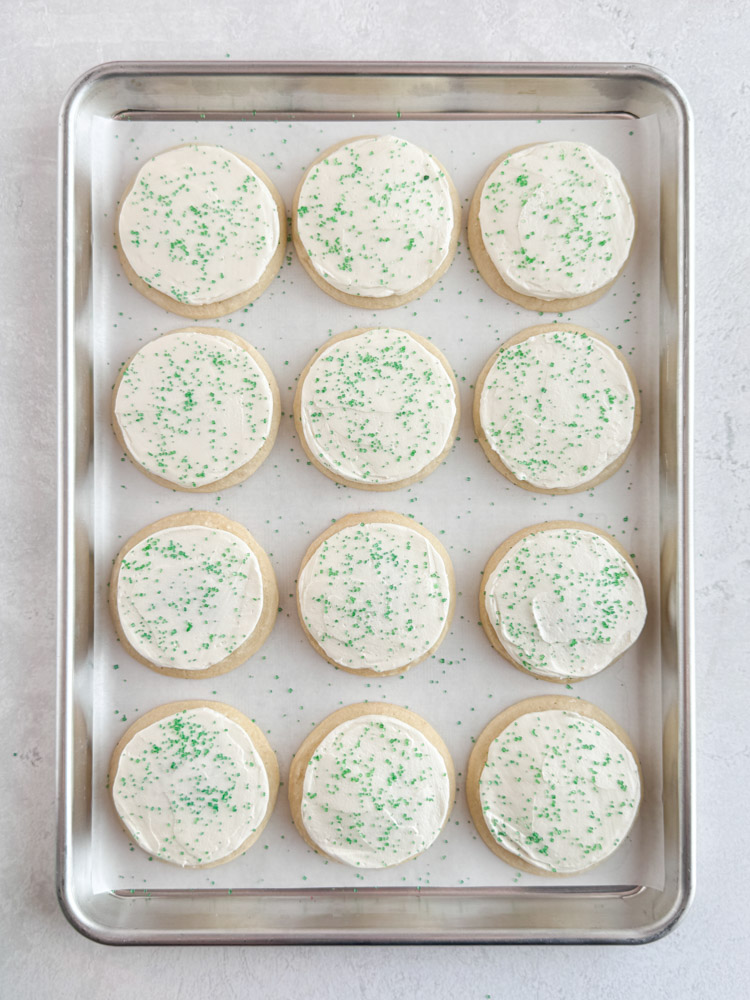
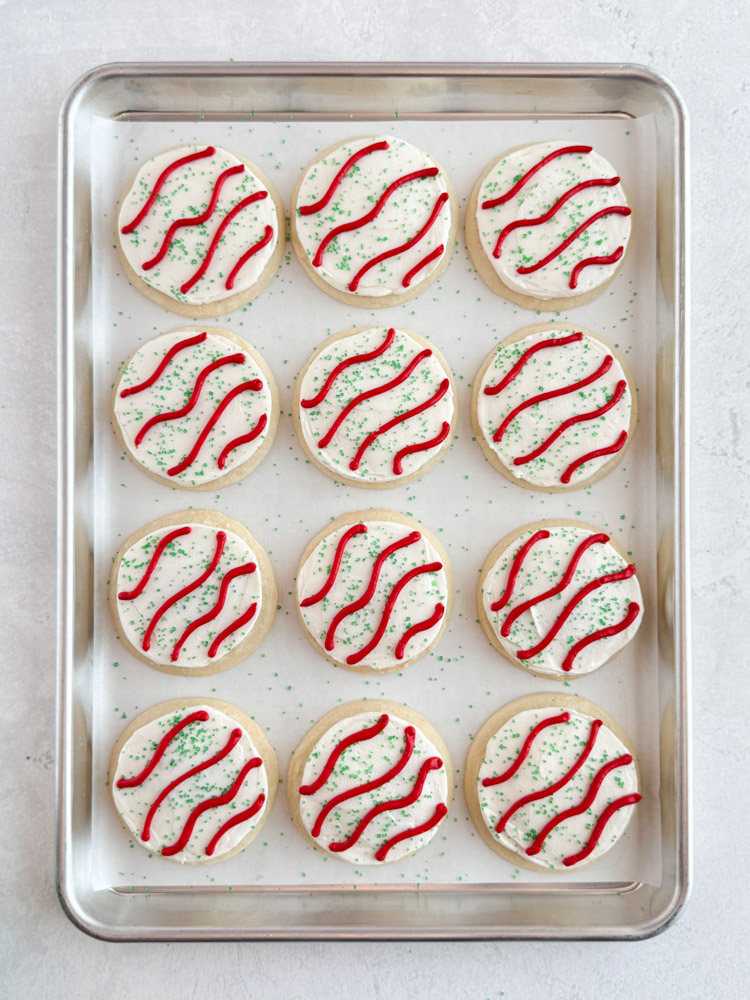
Step 5: Decorate the cookies. Use a piping bag fitted with a Wilton 1A piping tip to pipe white buttercream on the cookies and spread evenly with an offset spatula. Decorate the cookies with green sugar sprinkles and then pipe the red stripes using a Wilton #5 piping tip.
Courtney’s Expert Cookie Baking Tips
- Use a large cookie scoop (3 tablespoons) to portion the cookie dough to create round and uniform-sized cookies.
- Bake the cookies in the center of the oven for even baking and proper spreading.
- Immediately when the cookies come out of the oven, use the back of a spoon to gently shape the cookies into perfectly round circles.
- Cool the cookies completely before frosting to prevent the buttercream from melting.
- Use an offset spatula to smooth the frosting onto the cookies. To help create a very smooth finish, heat the spatula in hot water, dry it off, and gently smooth the frosting.
- Use red gel food coloring for the most vibrant red color. If you want to deepen the color, heat the frosting in the microwave for a few seconds. If the frosting is too melted, chill it in the refrigerator for a few minutes and mix until smooth.
Frequently Asked Questions
For this recipe, I recommend sticking with cake flour. The cake flour gives the cookies a light, soft, and tender texture. The all-purpose flour will work, however, the cookies will be a bit more dense.
They’re inspired by the nostalgic flavor, with soft vanilla cookies and creamy vanilla buttercream that capture the same sweet, festive vibe.
First, pipe the white frosting onto the cookies using a round piping tip. Carefully spread the frosting over the surface of the cookie using an offset spatula in an even layer. To make the frosting super smooth and to remove any air bubbles, heat the offset spatula under hot water, dry off the spatula, and gently smooth the frosting.
For the cookies pictured, you will want to use green sanding sugar and a Wilton #5 piping tip to create the red stripes. I used Americolor gel food coloring in the color “red red” to tint the frosting. Create a bit of a squiggle design as you are piping the frosting to mimic the iconic look of the Christmas tree cakes.
If you try this recipe, please leave a comment with a star rating below! Follow Cake Me Home Tonight on Instagram and Pinterest for the sweetest recipes!
 click the stars to rate!
Little Debbie Christmas Tree Cookies
Ingredients
Vanilla Cookies
- 2 ½ cups (315 g) cake flour
- 1 tbsp (8 g) cornstarch
- 1 tsp (1 tsp) baking powder
- ½ tsp (0.5 tsp) salt
- ¾ cup (170 g) unsalted butter (room temperature)
- ¼ cup (60 ml) vegetable oil
- 1 cup (120 g) powdered sugar
- ½ cup (100 g) granulated sugar
- 1 (1) large egg (room temperature)
- 3 tsp (3 tsp) vanilla extract
Vanilla Buttercream Frosting
- 1 cup (227 g) unsalted butter (room temperature)
- 2 ½ cups (300 g) powdered sugar
- 2 tbsp (30 ml) heavy cream
- 2 tsp (2 tsp) vanilla extract
- ¼ tsp (0.25 tsp) salt
Additional Ingredients
- 1 tbsp (10 g) green sanding sugar
- ½ tsp (0.5 tsp) red gel food coloring
Instructions
Vanilla Cookies
- Preheat the oven to 350℉ (177℃). Line baking sheet pans with silicone baking mats or parchment paper.
- In a medium mixing bowl, whisk together the all-purpose flour, cornstarch, baking powder, and salt. Set aside.
- In the bowl of a stand mixer fitted with a paddle attachment or in a large bowl with an electric hand mixer, cream the unsalted butter, vegetable oil, powdered sugar, and granulated sugar on medium speed until smooth and creamy. Add in the egg and vanilla extract and mix until well combined. Pour in the dry ingredients and mix on low speed until a soft cookie dough forms.
- Use a large cookie scoop (3 tablespoons) to portion the cookie dough and place on the prepared baking sheet pans, allowing room for spreading. Bake the cookies for about 12 minutes until the edges are set and the centers are puffed up. Cool the cookies on the pan for 2 minutes and then transfer to a wire rack to cool completely.
Vanilla Buttercream Frosting
- In the bowl of a stand mixer fitted with a paddle attachment or in a large bowl with an electric hand mixer, cream the unsalted butter for 5 minutes until light and creamy.
- Add in the powdered sugar and mix on the lowest speed until fully combined with the butter. Add in the heavy cream, vanilla extract, and salt and mix on low speed until smooth. Scrape the bottom and sides of the bowl to ensure the ingredients are well combined.
- Increase the speed on the mixer to medium and whip the buttercream for about 2 to 3 minutes until it is smooth and creamy. Turn the mixer to low speed and mix the buttercream for several minutes to remove any air bubbles.
Decorating the Cookies
- In a small mixing bowl, stir together ⅓ cup of the vanilla buttercream with the red gel food coloring. Fill a piping bag fitted with a Wilton #5 piping tip with the red frosting. Set aside.
- Fill a piping bag fitted with a Wilton 1A piping tip with the white vanilla buttercream frosting. Pipe a swirl of the frosting onto the cookies and spread evenly with an offset spatula to create a flat surface.
- Sprinkle the top of the cookies with green sanding sugar. Pipe stripes of red buttercream onto the cookies, creating random squiggle patterns to mimic the appearance of Little Debbie Christmas tree cakes.
Notes
- Room temperature: Store the cookies in an airtight container at room temperature for 1 to 2 days.
- Refrigerator: Store the cookies in an airtight container in the refrigerator for 2 to 3 days. Serve at room temperature for the best taste and texture.
- Freezer: Store the frosted cookies in an airtight container or storage bag in the freezer for up to 3 months. Be sure to chill the cookies in the refrigerator to firm up the buttercream before stacking and freezing. Use parchment paper to separate the cookies.
Nutrition
Made This Recipe?
Please leave a comment with a star rating to let me know how you enjoyed the recipe!

About Courtney
Baker | 80s Lover | Cookbook Author
Courtney is a self-taught home baker and cookbook author of “Girls Just Wanna Bake Cupcakes”. She loves to create new and unique recipes while simultaneously listening to 80s music.


Never Miss A Sweet Recipe!
Subscribe get the latest recipes, baking tips and more sent straight to your inbox!
Did you make this recipe or want to see more? Make sure to leave your review below and tag me on Instagram @CakeMeHomeTonight so I can see your creations!